Docker 是一个广受欢迎的开发平台,它允许用户通过容器化技术来构建、打包和部署应用程序。尽管 Docker 提供了强大的功能和灵活性,但对于初学者而言,在项目中配置 Docker 可能会遇到一些挑战。
不过,Docker 官方为了降低使用门槛,推出了一个便捷的命令docker init。这个命令旨在快速初始化 Docker 配置,从而简化将 Docker 集成到项目中的流程。通过使用这个命令,用户可以轻松地为项目设置必要的 Docker 支持,进而享受到 Docker 带来的便利和效率提升。
docker init 简介#
docker init 命令会根据用户指定的选项生成运行容器的一些文件,极大的加快了项目的容器化:
- .dockerignore : docker 构建时忽略的文件列表
- Dockerfile: 镜像的核心文件
- Compose.yaml: docker compose 的配置文件
- README.Docker.md
如果你的项目中已有以上文件,会让你选择是否覆盖旧文件避免文件冲突问题。
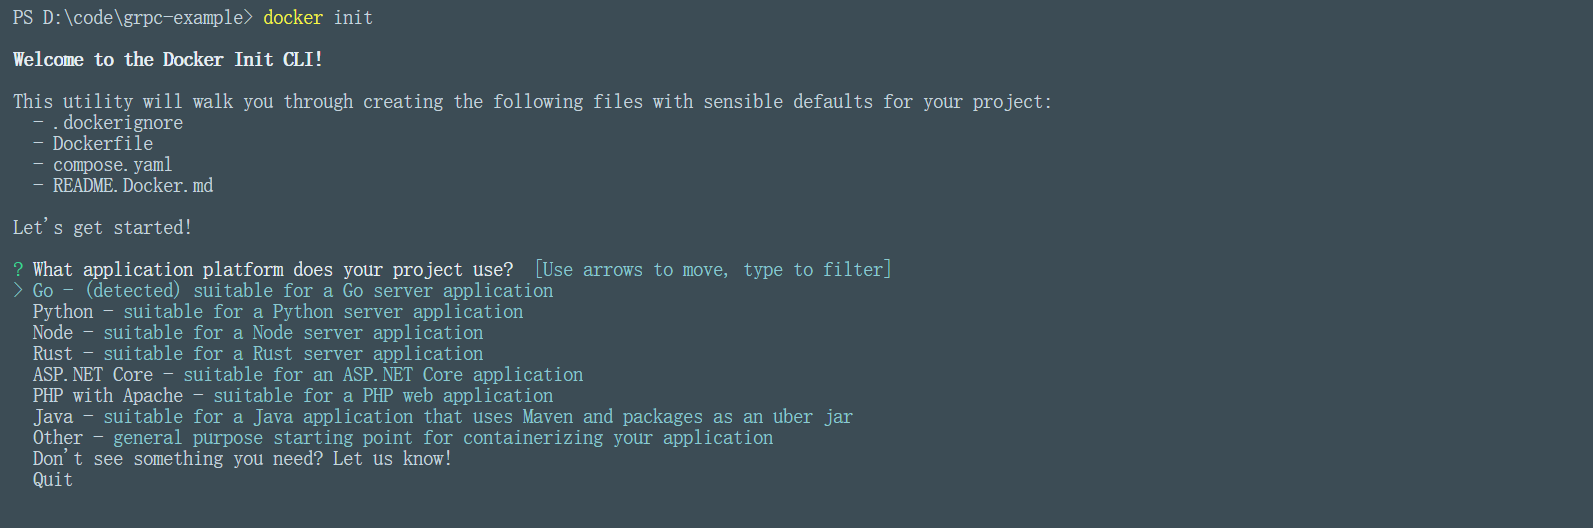
docker init 提供了一组项目的模板文件,包括了 Go、Python、ASP.NET Core等常见的服务器应用程序及一个其它类型应用程序模板。开发者使用 init 命令时,可以根据选择的模板生成相应的文件,使开发者可以快速的构建并启动容器。
接下来介绍如何使用 docker init 进行项目容器的初始化,这里以前文的go项目为例子进行介绍。
进入项目根目录执行 init 命令,选择go模板,会让你选择使用的go版本,主程序的位置及应用所使用的端口:
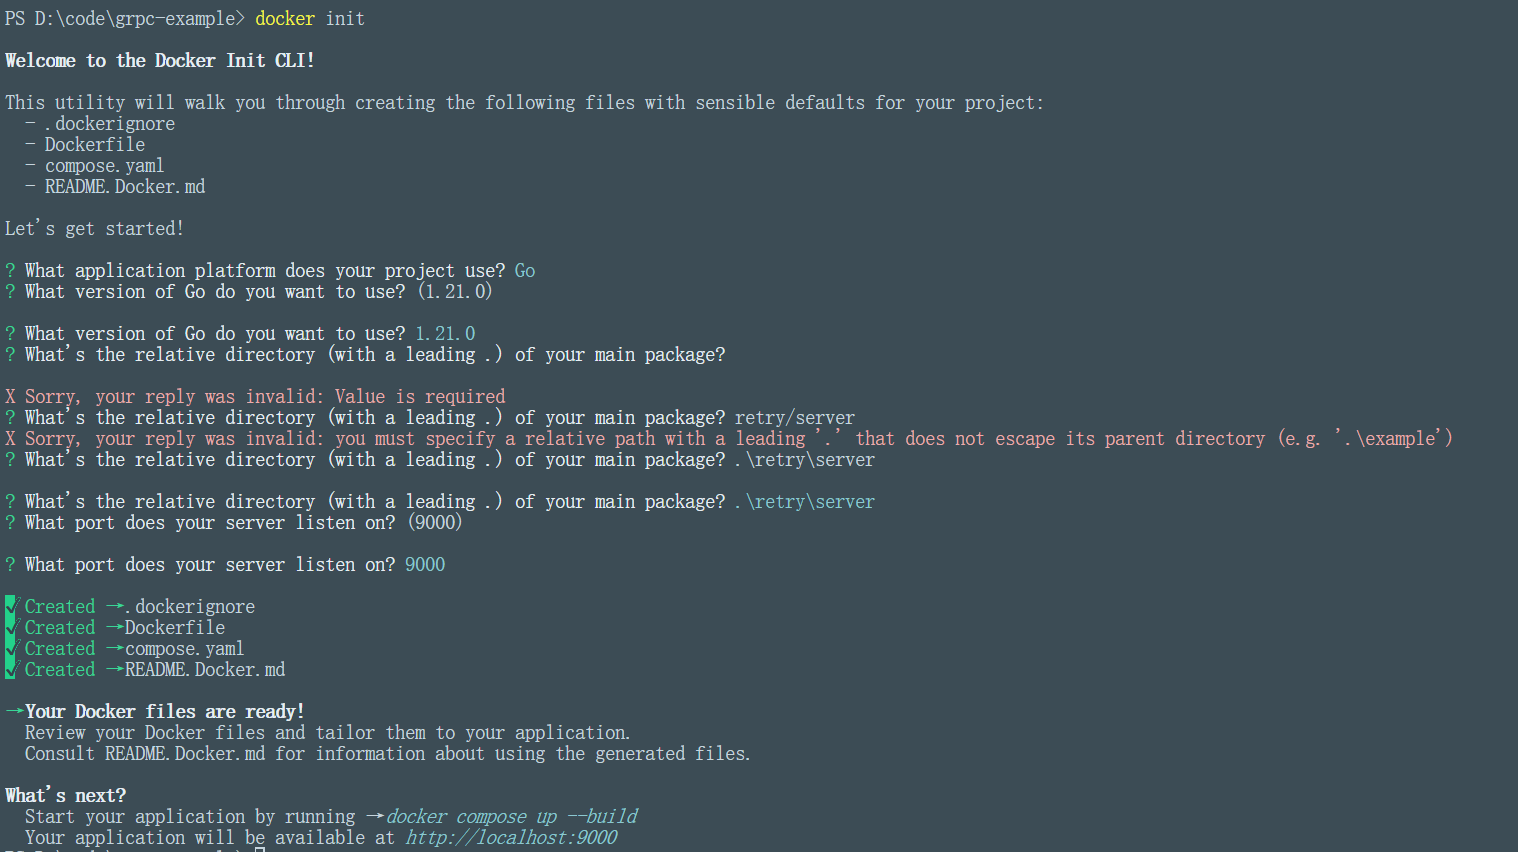
执行完可以看到会生成相应的文件及如何构建并运行的命令。
查看生成的Dockerfile 和 Compose.yaml文件:
 1
 2
 3
 4
 5
 6
 7
 8
 9
10
11
12
13
14
15
16
17
18
19
20
21
22
23
24
25
26
27
28
29
30
31
32
33
34
35
36
37
38
39
40
41
42
43
44
45
46
47
48
49
50
51
52
53
54
55
56
57
58
59
60
61
62
63
64
65
66
67
68
69
70
71
72
73
74
75
76
77
78
| # syntax=docker/dockerfile:1
# Comments are provided throughout this file to help you get started.
# If you need more help, visit the Dockerfile reference guide at
# https://docs.docker.com/go/dockerfile-reference/
# Want to help us make this template better? Share your feedback here: https://forms.gle/ybq9Krt8jtBL3iCk7
################################################################################
# Create a stage for building the application.
ARG GO_VERSION=1.21.0
FROM --platform=$BUILDPLATFORM golang:${GO_VERSION} AS build
WORKDIR /src
# Download dependencies as a separate step to take advantage of Docker's caching.
# Leverage a cache mount to /go/pkg/mod/ to speed up subsequent builds.
# Leverage bind mounts to go.sum and go.mod to avoid having to copy them into
# the container.
RUN --mount=type=cache,target=/go/pkg/mod/ \
--mount=type=bind,source=go.sum,target=go.sum \
--mount=type=bind,source=go.mod,target=go.mod \
go mod download -x
# This is the architecture you’re building for, which is passed in by the builder.
# Placing it here allows the previous steps to be cached across architectures.
ARG TARGETARCH
# Build the application.
# Leverage a cache mount to /go/pkg/mod/ to speed up subsequent builds.
# Leverage a bind mount to the current directory to avoid having to copy the
# source code into the container.
RUN --mount=type=cache,target=/go/pkg/mod/ \
--mount=type=bind,target=. \
CGO_ENABLED=0 GOARCH=$TARGETARCH go build -o /bin/server ./retry/server
################################################################################
# Create a new stage for running the application that contains the minimal
# runtime dependencies for the application. This often uses a different base
# image from the build stage where the necessary files are copied from the build
# stage.
#
# The example below uses the alpine image as the foundation for running the app.
# By specifying the "latest" tag, it will also use whatever happens to be the
# most recent version of that image when you build your Dockerfile. If
# reproducability is important, consider using a versioned tag
# (e.g., alpine:3.17.2) or SHA (e.g., alpine@sha256:c41ab5c992deb4fe7e5da09f67a8804a46bd0592bfdf0b1847dde0e0889d2bff).
FROM alpine:latest AS final
# Install any runtime dependencies that are needed to run your application.
# Leverage a cache mount to /var/cache/apk/ to speed up subsequent builds.
RUN --mount=type=cache,target=/var/cache/apk \
apk --update add \
ca-certificates \
tzdata \
&& \
update-ca-certificates
# Create a non-privileged user that the app will run under.
# See https://docs.docker.com/go/dockerfile-user-best-practices/
ARG UID=10001
RUN adduser \
--disabled-password \
--gecos "" \
--home "/nonexistent" \
--shell "/sbin/nologin" \
--no-create-home \
--uid "${UID}" \
appuser
USER appuser
# Copy the executable from the "build" stage.
COPY --from=build /bin/server /bin/
# Expose the port that the application listens on.
EXPOSE 9000
# What the container should run when it is started.
ENTRYPOINT [ "/bin/server" ]
|
可以看到 Dockerfile 是一个常见的多阶段构建镜像流程。
 1
 2
 3
 4
 5
 6
 7
 8
 9
10
11
12
13
14
15
16
17
18
19
20
21
22
23
24
25
26
27
28
29
30
31
32
33
34
35
36
37
38
39
40
41
42
43
44
45
46
47
48
49
| # Comments are provided throughout this file to help you get started.
# If you need more help, visit the Docker Compose reference guide at
# https://docs.docker.com/go/compose-spec-reference/
# Here the instructions define your application as a service called "server".
# This service is built from the Dockerfile in the current directory.
# You can add other services your application may depend on here, such as a
# database or a cache. For examples, see the Awesome Compose repository:
# https://github.com/docker/awesome-compose
services:
server:
build:
context: .
target: final
ports:
- 9000:9000
# The commented out section below is an example of how to define a PostgreSQL
# database that your application can use. `depends_on` tells Docker Compose to
# start the database before your application. The `db-data` volume persists the
# database data between container restarts. The `db-password` secret is used
# to set the database password. You must create `db/password.txt` and add
# a password of your choosing to it before running `docker compose up`.
# depends_on:
# db:
# condition: service_healthy
# db:
# image: postgres
# restart: always
# user: postgres
# secrets:
# - db-password
# volumes:
# - db-data:/var/lib/postgresql/data
# environment:
# - POSTGRES_DB=example
# - POSTGRES_PASSWORD_FILE=/run/secrets/db-password
# expose:
# - 5432
# healthcheck:
# test: [ "CMD", "pg_isready" ]
# interval: 10s
# timeout: 5s
# retries: 5
# volumes:
# db-data:
# secrets:
# db-password:
# file: db/password.txt
|
docker-compose 文件也是常规的内容,可以看到文件中还提供了默认的数据库服务配置,使开发者可以快速的启动一个数据库服务。
本文讲述了 docker 提供的一种快速生成 docker 镜像构建文件的命令: init ,通过这个命令使开发者能够快速方便的为项目启用容器能力。