前言
最近我发现各个群里出现了一股利用 AI 进行绘画的潮流,今天我也尝试使用 Stable Diffusion 模型 进行 AI 绘画。
Stable Diffusion 简介
Stable Diffusion 是一个文本到图像的模型,将使人们可以在几秒钟内创造出令人惊叹的艺术作品。它在速度和质量方面都有突破,这意味着它可以在消费级GPU上运行
开始
我们采用别人封装的 stable-diffusion-webui 平台进行绘画,由于各种条件限制,我们使用 github上提供的 Google colab notbook 进行部署(https://colab.research.google.com/drive/1IplUv47g9CgtlJmFnyT2sDyNYDEeMJDi?usp=sharing).
打开链接,我简单的看了下代码,前面是基础的安装运行环境、需要的 Python package .我们依次运行即可。
我们直接来到 1.4 Connect to Google Drive,
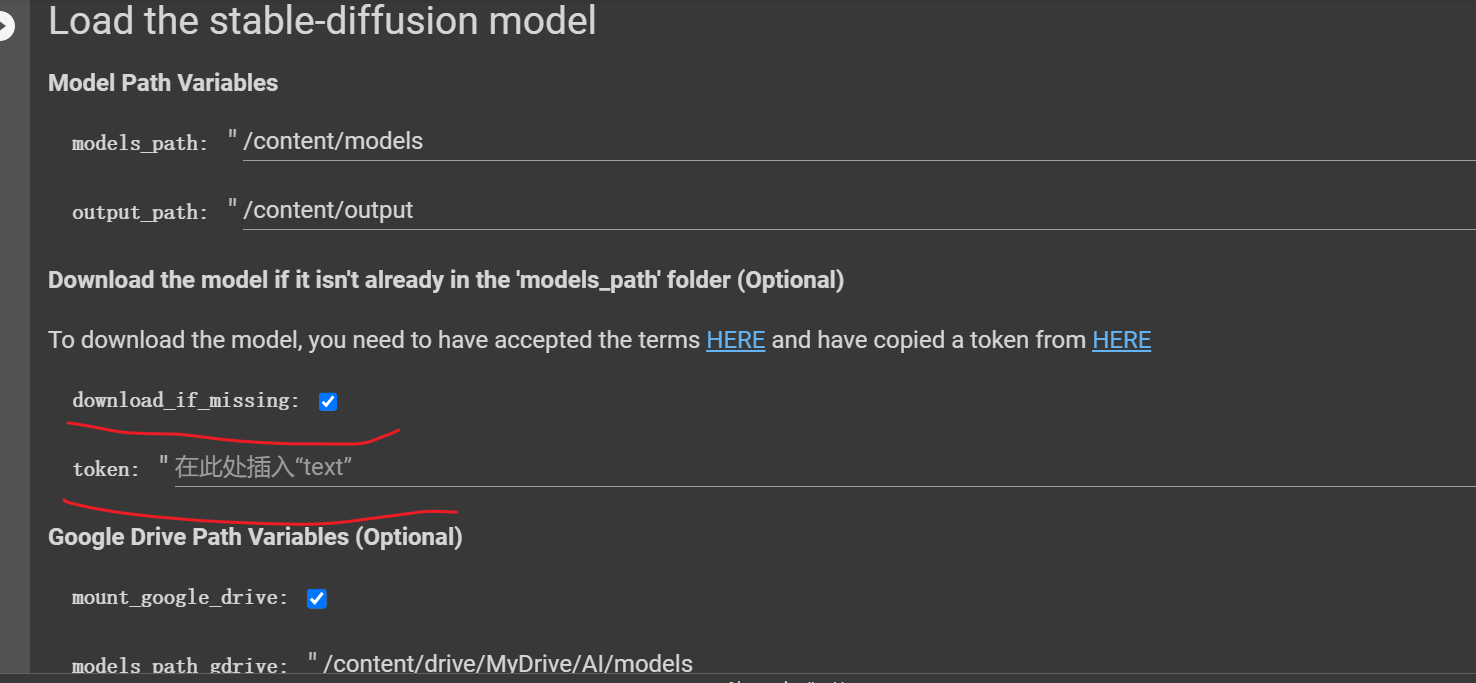 勾选 download_if_missing ,然后到 https://huggingface.co/settings/tokens 复制你的 toekn 并填入。(huggingface 注册耗费了许多时间,reCAPTCHA 没有通过).
点击运行后就开始拉取模型。
如果运行发现报错了:
| |
你需要到 https://huggingface.co/CompVis/stable-diffusion-v-1-4-original 授权模型的访问权限。授权后重新运行即可。
接下来我们还是依次运行,最后会出现如下日志:
public URL 就是你的 AI 绘画平台的地址。点击链接打开网页, 用户名是 webui 密码是前面代码中设置的,打开后是如下的界面:
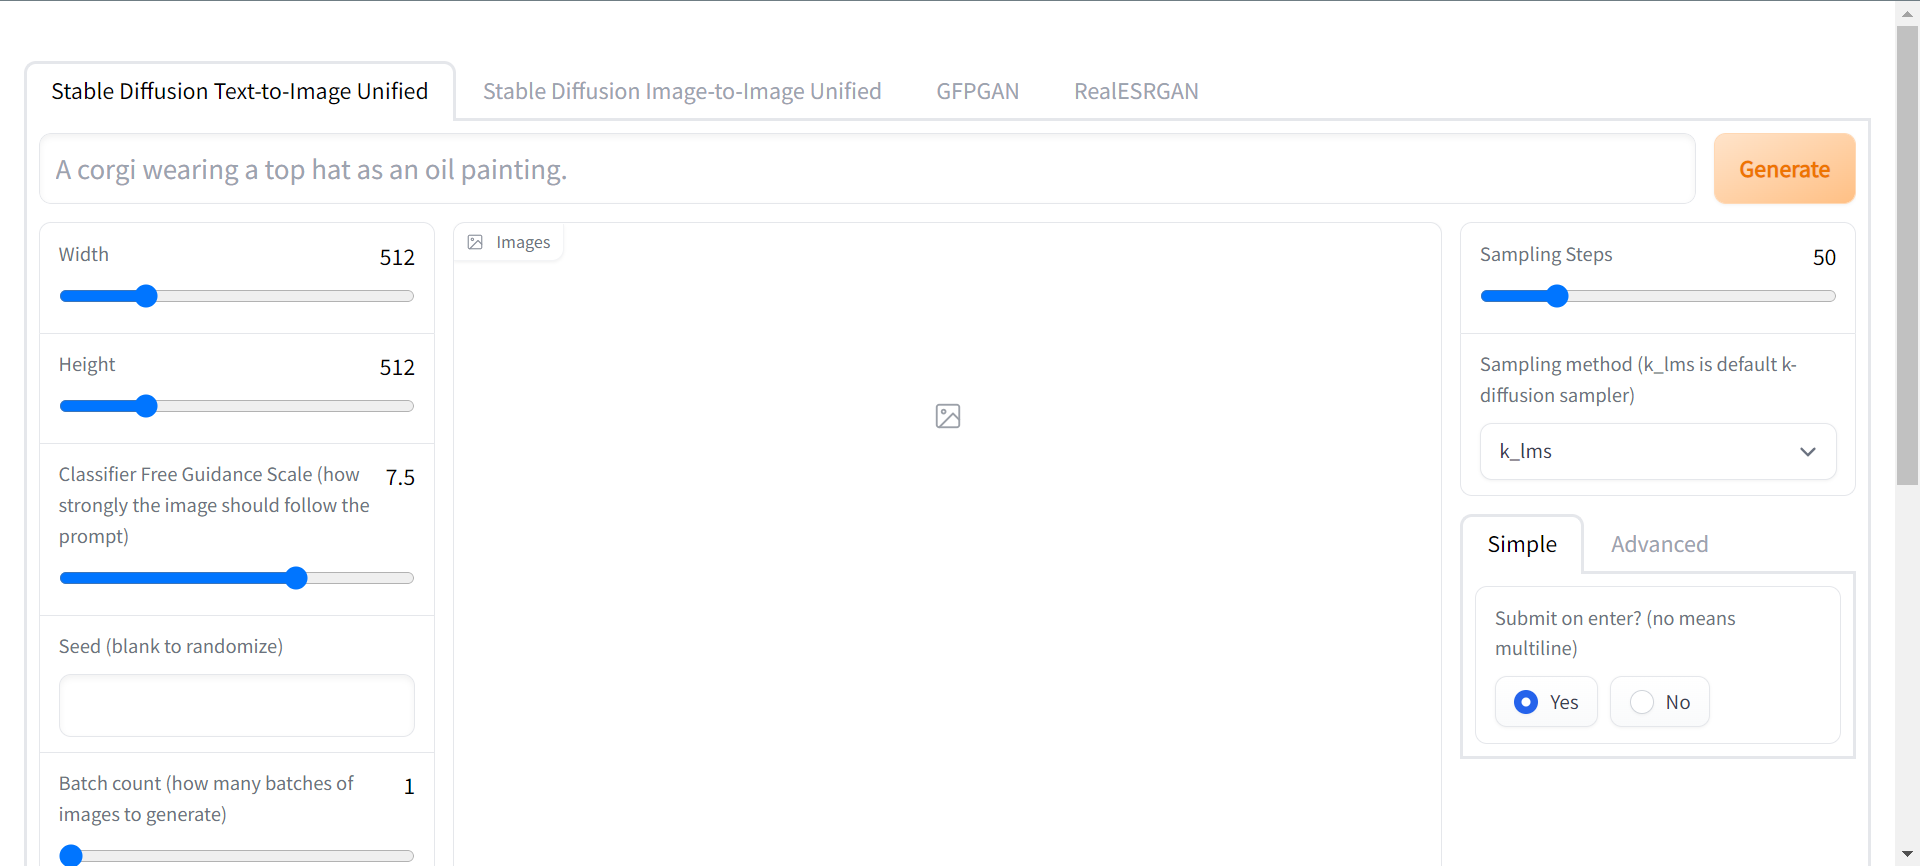
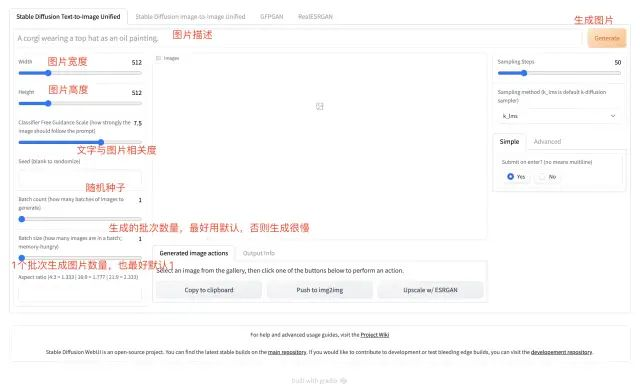
主要包含了4块功能,text2img,img2img,人脸修复算法,照片清晰化。
text2img
我们先来试用第一个功能 text2img
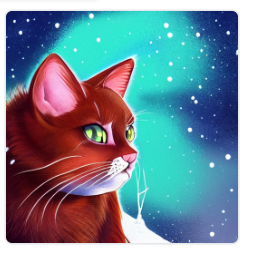
我们输入如下文本:((a point coloration cat by the lakeside)), big face, small ears, play in the snow, sharp focus, illustration, highly detailed, concept art, matte, anime, trending on artstation,点击生成
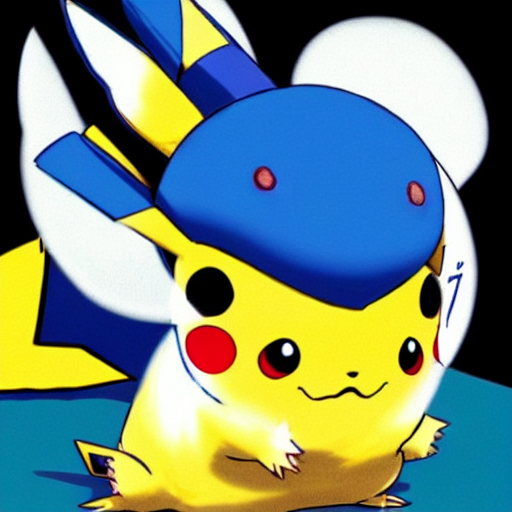
我们继续输入: ((a Pikachu)), big face, small ears,Kyogre,sea
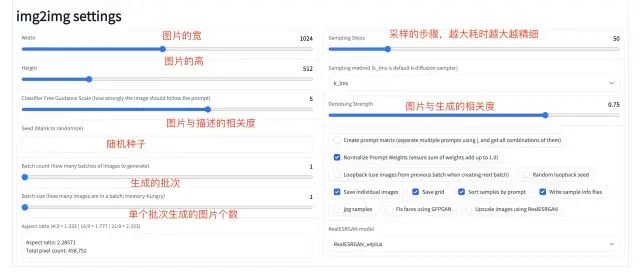
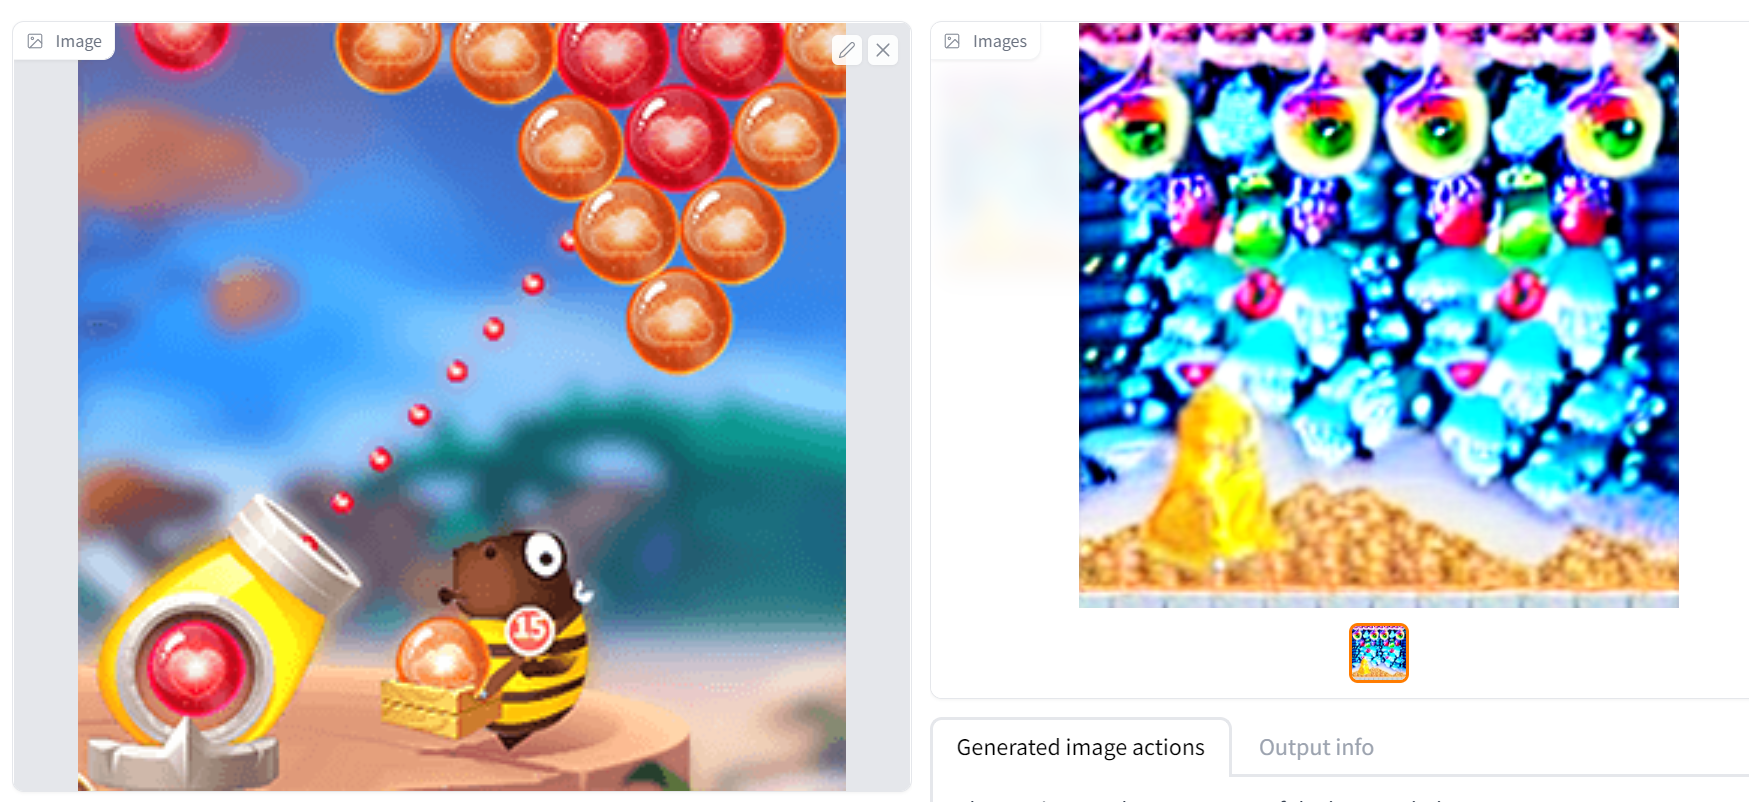
Img2Img
第二个功能是利用图片生成图片
其他2个功能这次就不多介绍了,下次有机会再介绍。
参考
- https://github.com/hua1995116/awesome-ai-painting
- https://github.com/CompVis/stable-diffusion
- https://github.com/altryne/awesome-ai-art-image-synthesis
- https://github.com/sd-webui/stable-diffusion-webui
- https://stability.ai/blog/stable-diffusion-public-release
- https://huggingface.co/CompVis/stable-diffusion-v-1-4-original